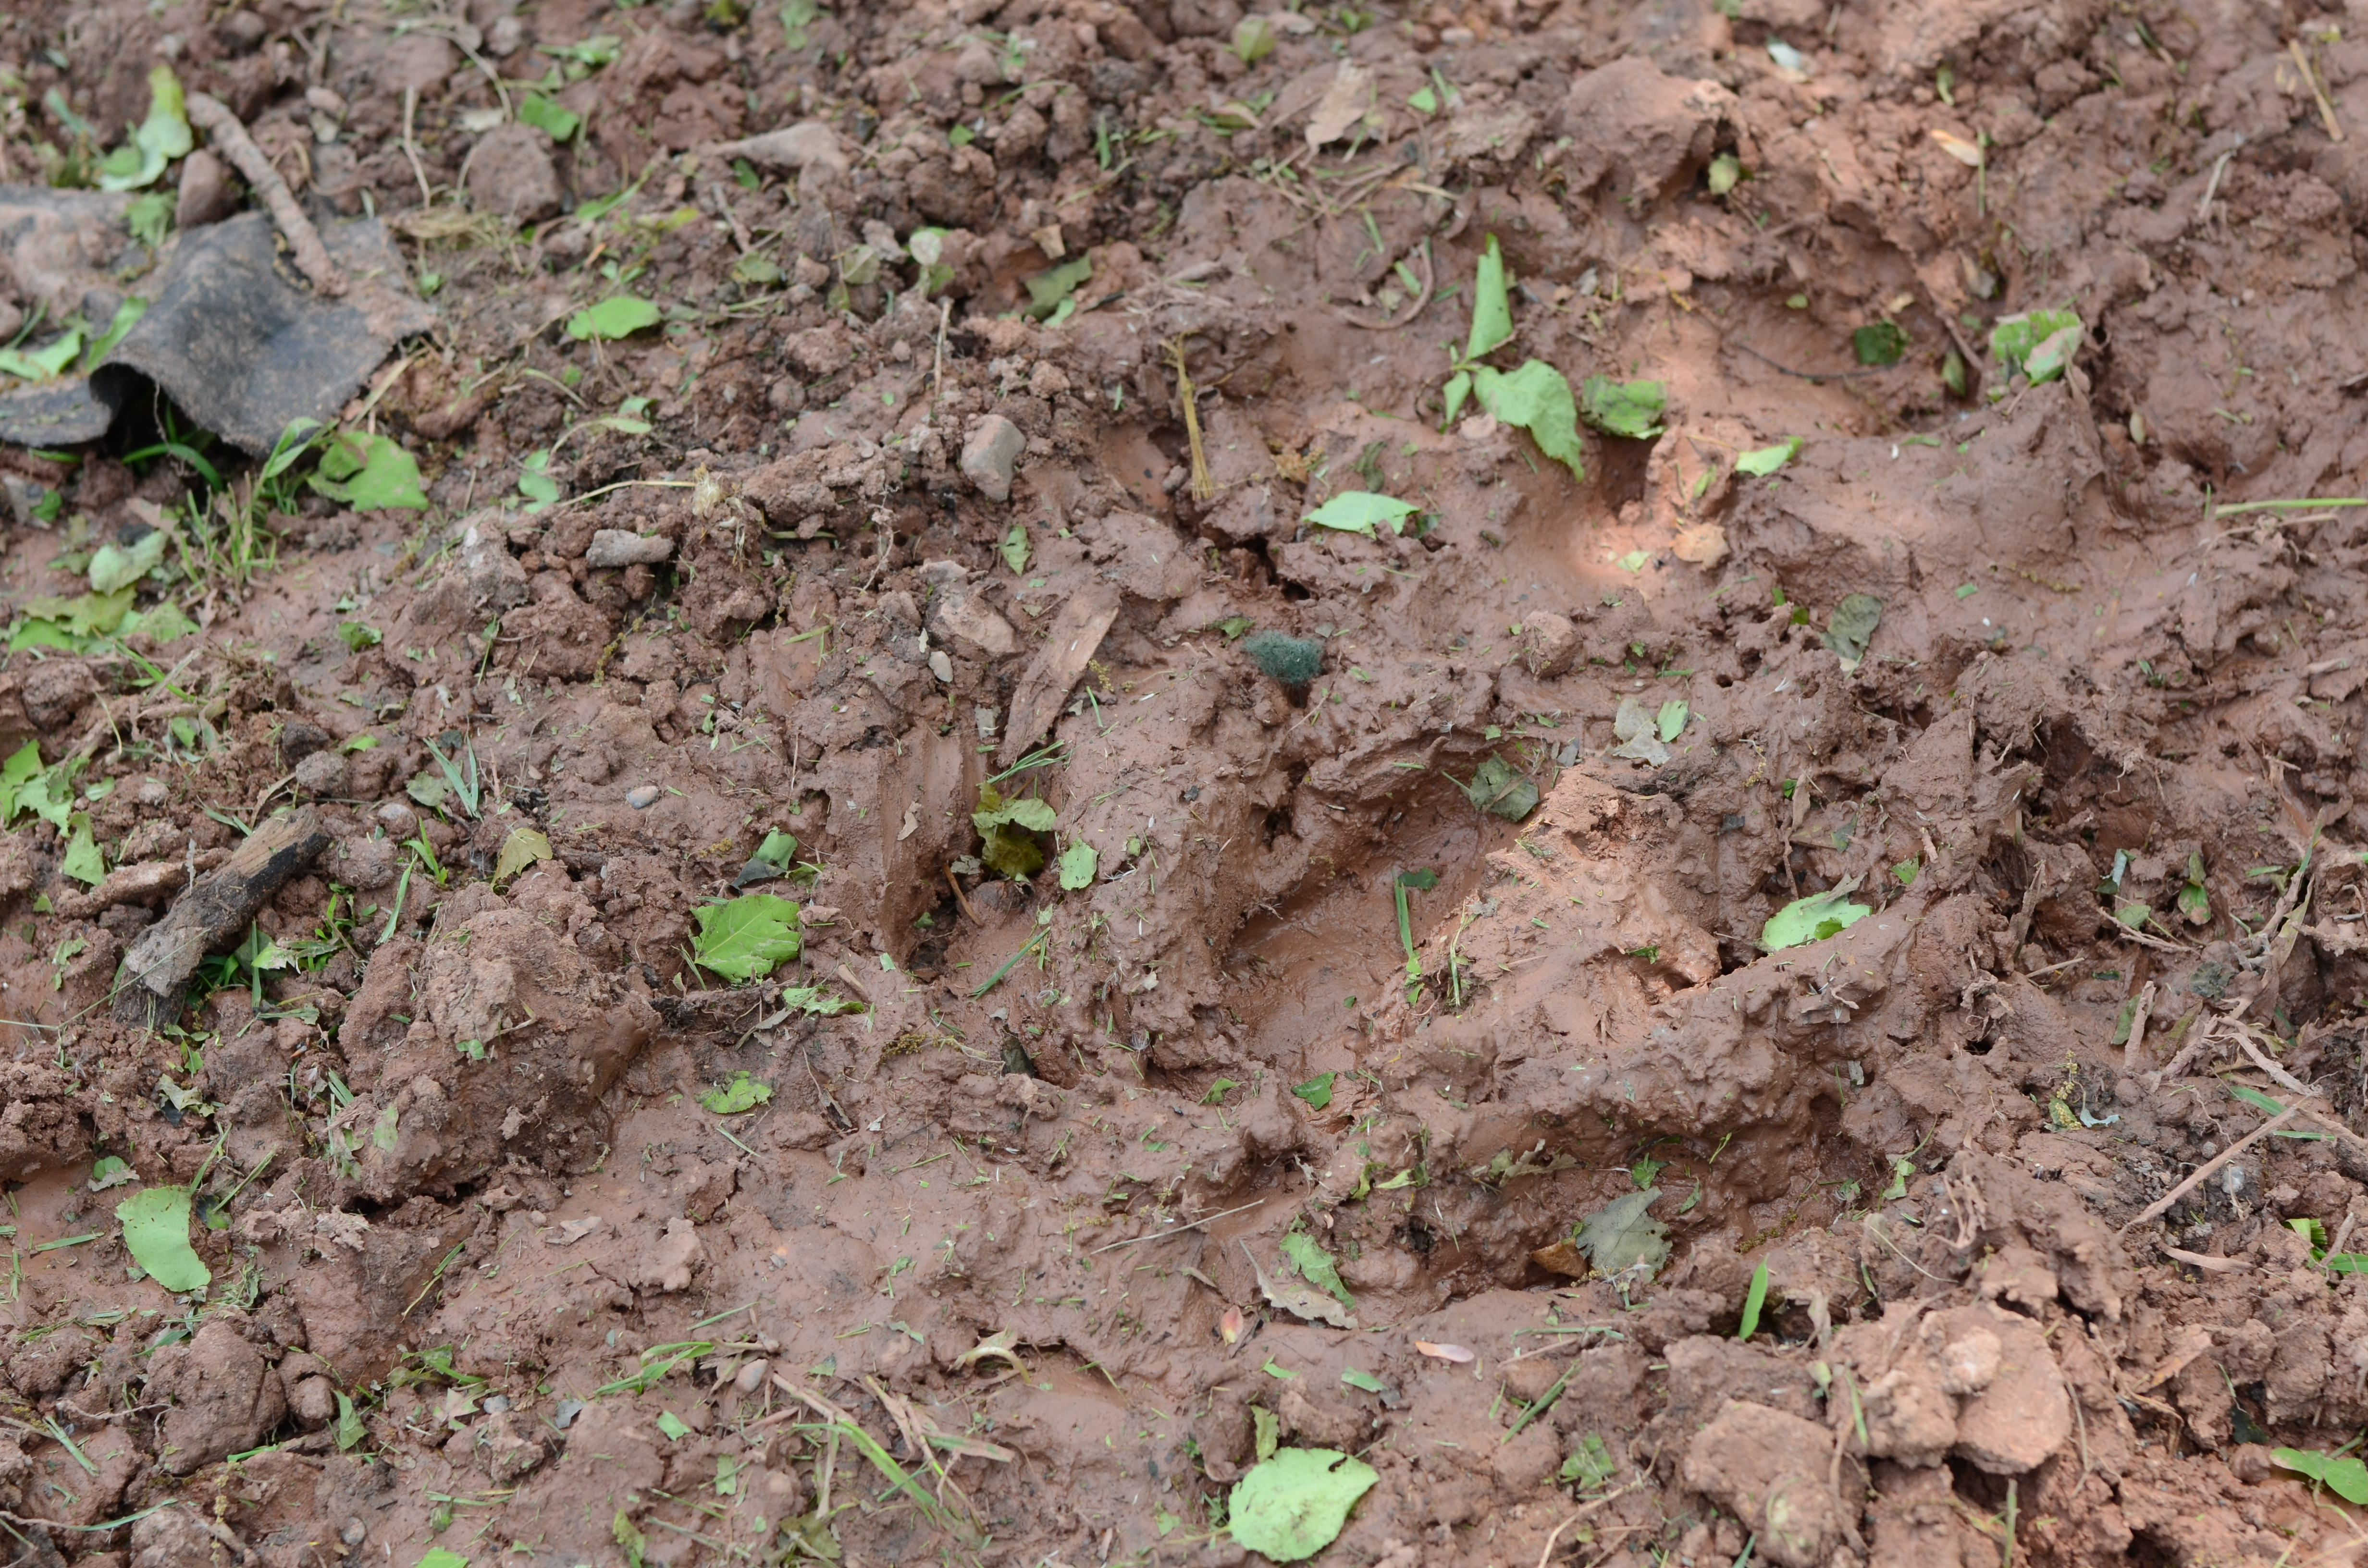
As I’ve mentioned before, I live in Lake Superior Red Clay. And yes, I realize I’ve capitalized “red clay” as though it were a proper noun. It’s that evil. It should be a proper noun. It is the antithesis of light, lovely, loamy soil. Instead, my growing medium slowly chokes and stifles the life out of anything that I plant in its sticky redness. Too dry and there’s a solid chance you’re going to break (or at least bend) your shovel; on the other hand, if it’s too wet…well… See the picture below.
However, I LOVE, LOVE, LOVE gardening. To the point where I’ve shoveled/scraped/and removed red clay in order to make it hospitable to my vision. While my arms were incredibly tanned and toned as a result of my futile and misguided efforts, it is far better to make a raised bed over existing soil (red clay or even if you don’t have red clay) rather than hollowing out a space and filling it with dirt. Word to the wise, there.
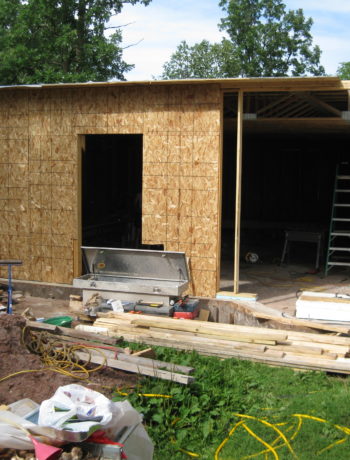
Since this series follows the development of my kitchen/herb garden, as a true from-scratch example, let me remind you where I started.
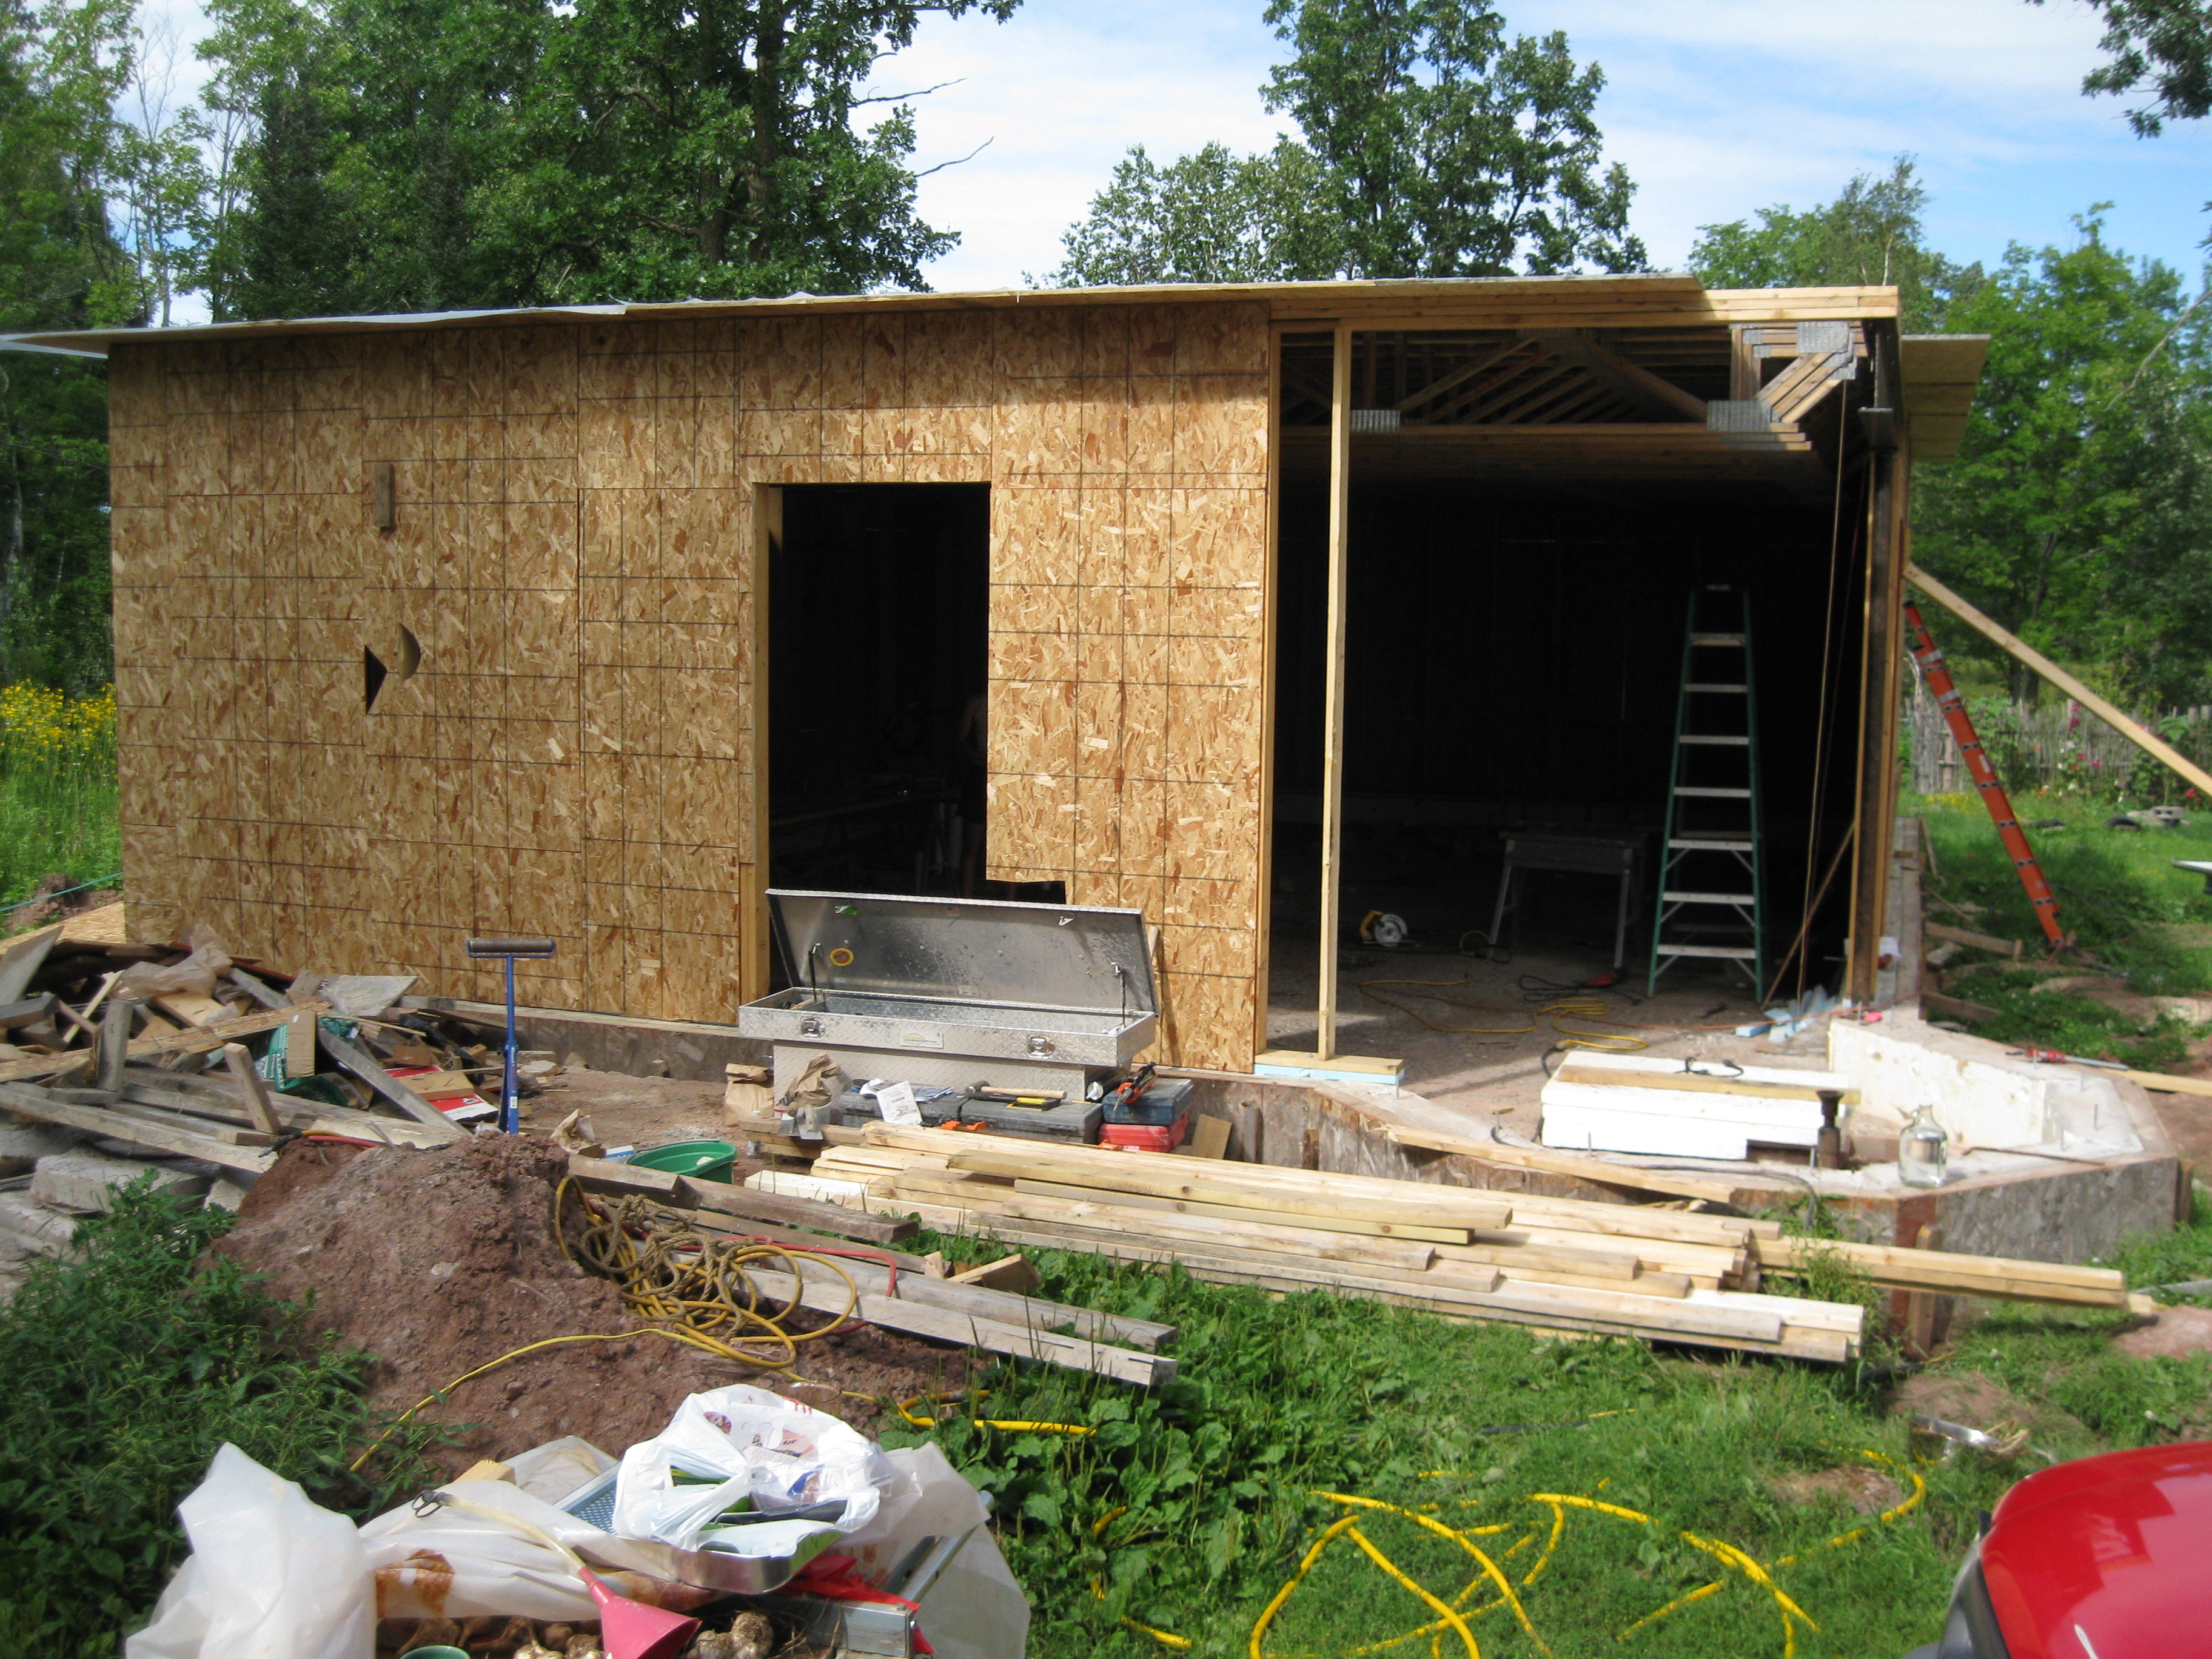
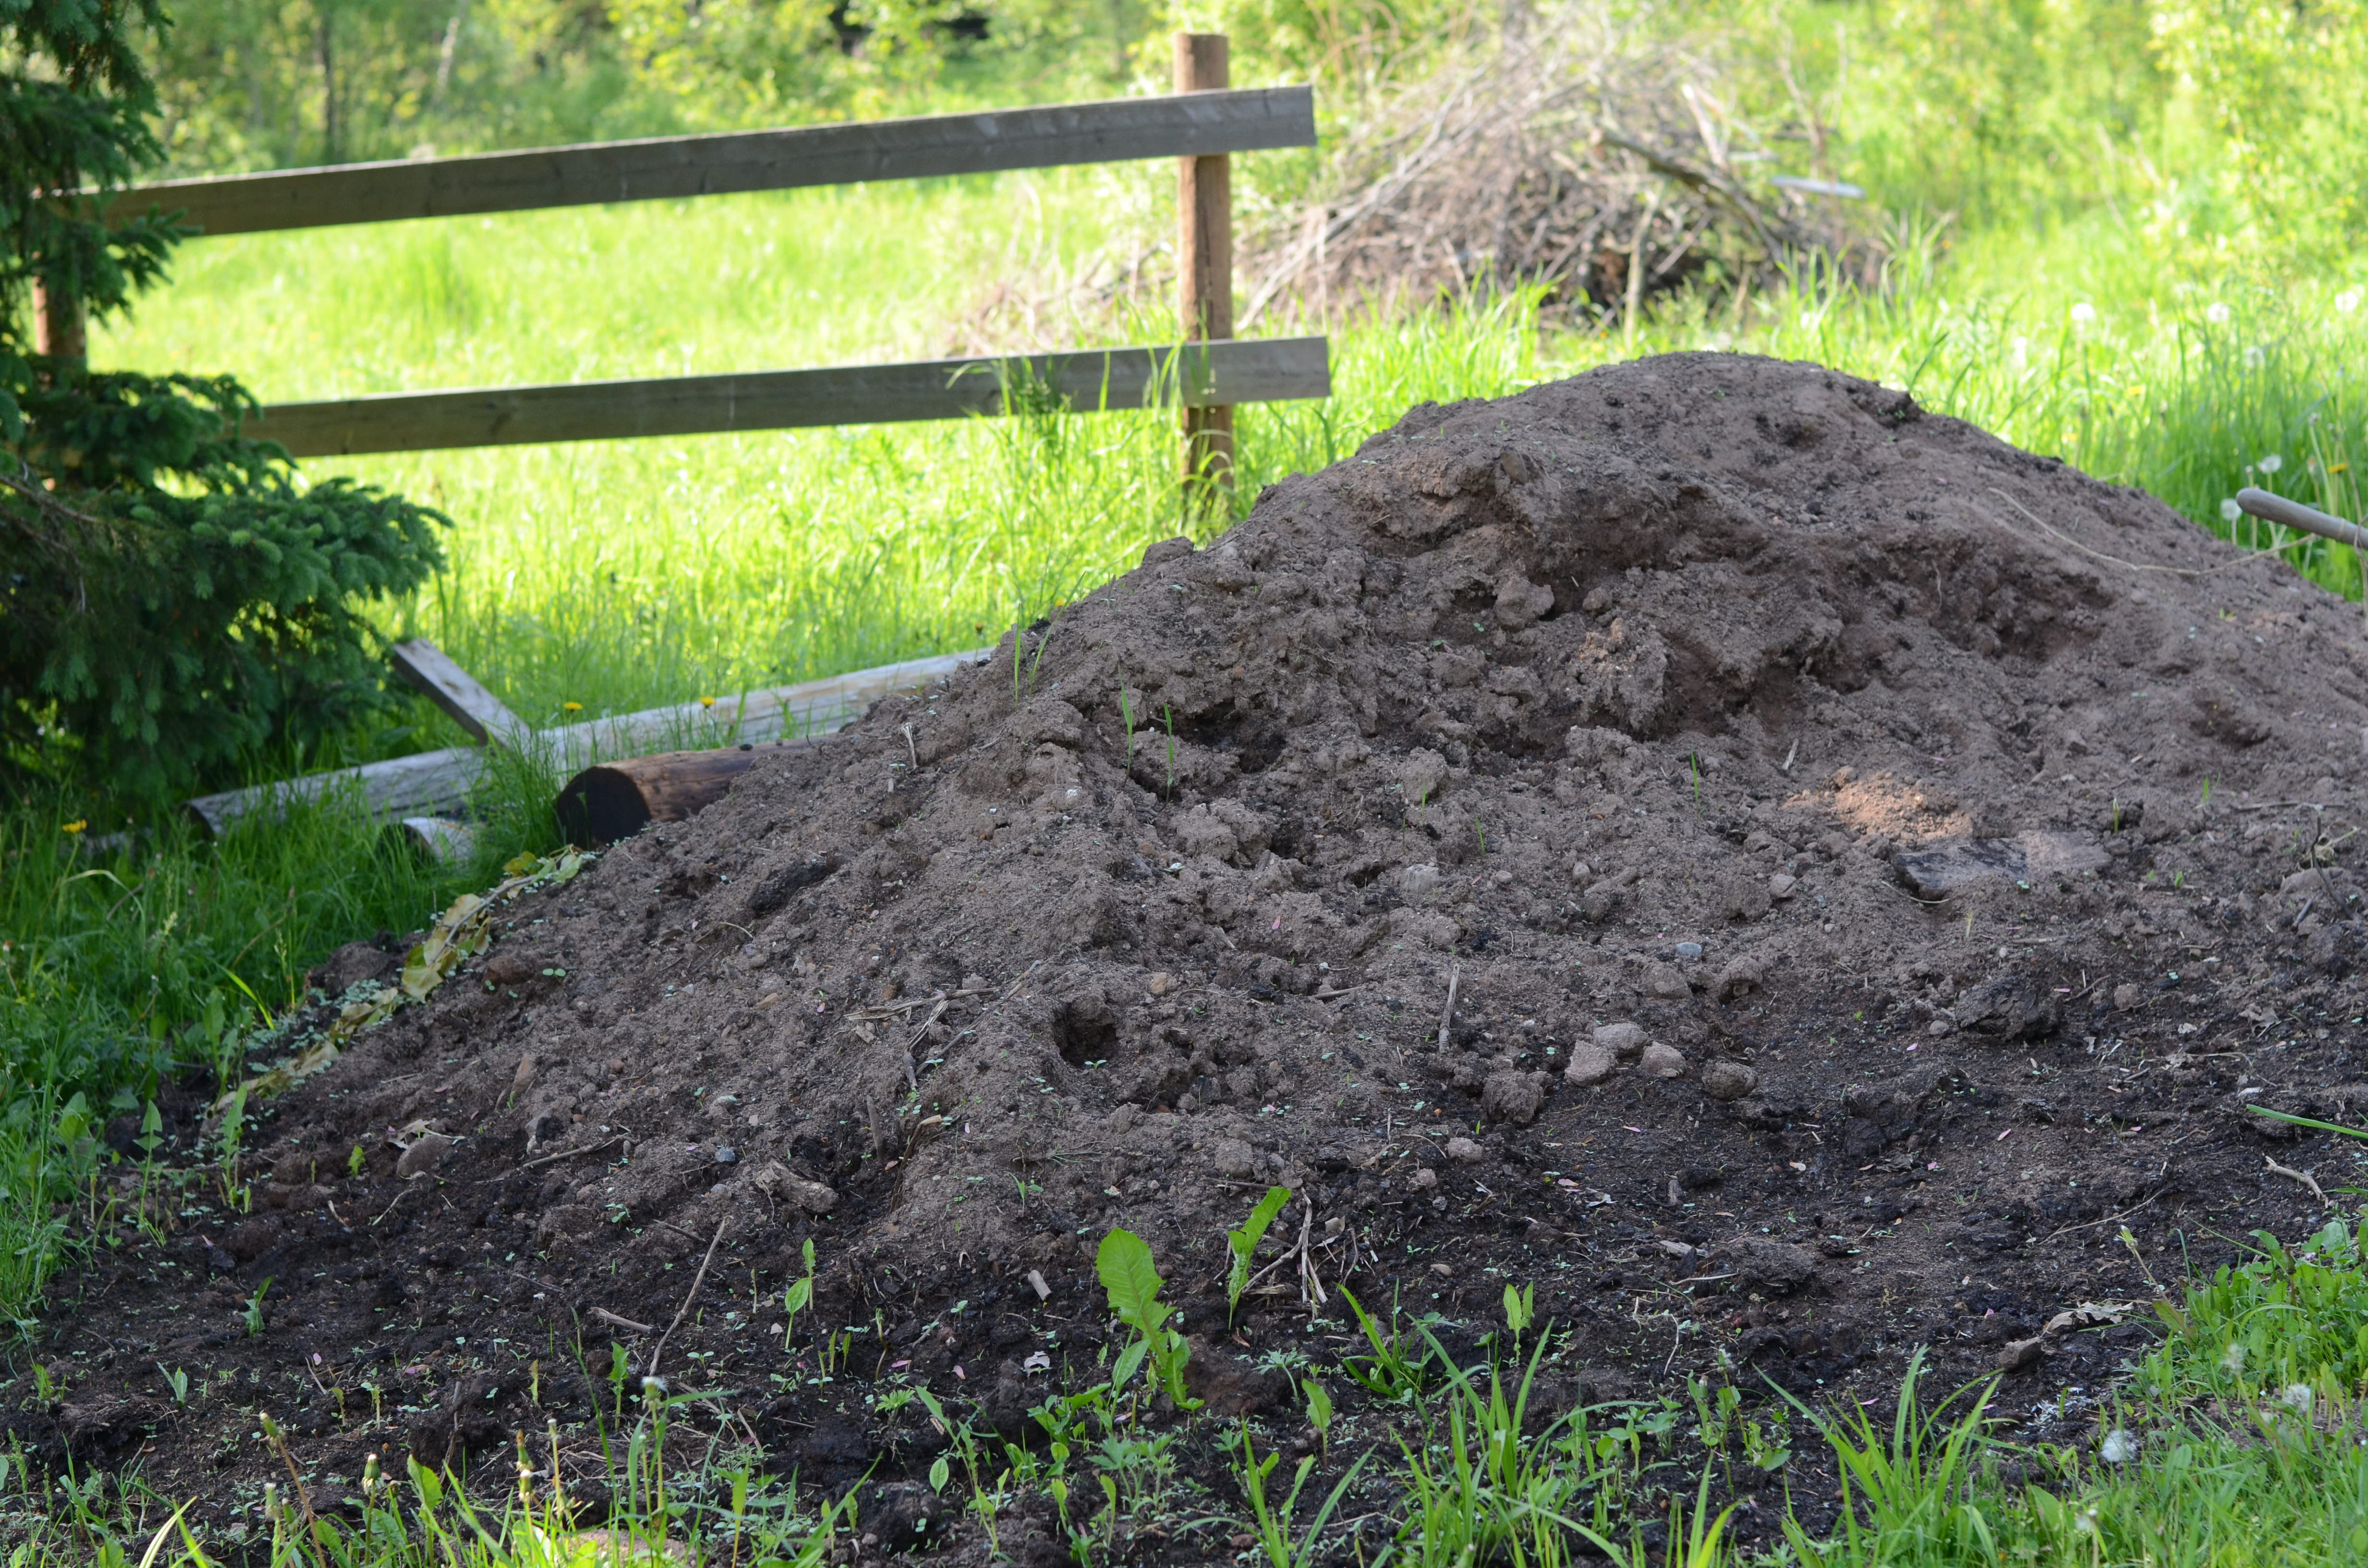
Ugh. It makes me shudder to even look at that image. It’s hard to see it, but the single opening reflects where the French doors are currently. The gaping hole to the right is the bump-out/sunroom. The construction debris delineates the herb/kitchen garden space. You’ll note, perhaps, the lovely mound of red clay? I’m a quick learner, or at least that’s what I tell myself and I’ve wised up over the course of my gardening adventures and knew that I was. not. removing red clay (less the mound) and replacing it with a different growing medium. Enter the raised bed.
![]()
Here’s what I did.
Blocked out a layout: During the long, cold winter I pored over herb garden plans, both formal and informal and knew I wanted to strike a balance between the two types; nothing perfectly symmetrical, but something that had some form and structure.
Put down a weed barrier: Let me go on record saying that I hate landscaping fabric. You may disagree with me, but I despise (and this is not too strong a word, I think, the stuff!). It doesn’t effectively kill weeds-in my experience-and it’s difficult to use. Alternatively, I collected cardboard, newspapers, and other biodegradable items to put down instead. The cardboard effectively killed the weeds and eventually biodegraded while adding some beneficial structure/compost to the soil.
Edged the bed: This step I might have flip-flopped with the previous, but no matter. Either is really okay. I’m thrifty and I like natural materials. In this step, I managed to combine thriftiness and my love for natural materials in my edging materials as I used aspen/poplar logs (an abundant resource around here) and large fieldstone. Remember what I said about muscles, in Entry #2? 🙂
Added the dirt: I’m old school in most things so I relied on the rusty, trusty wheelbarrow to fill my beds. In terms of soil, I used a mix of sand, manure, and peat moss–mixed by yours truly, by hand–to create a worthy growing medium. Toned arms, part two!

Disclaimer: I will be the first to remind you of my utter lack of formal credentials: no horticultural degree, no master gardener course under my belt, or other like authority. You may read and read and read in preparation for your own garden, and in the course of that self-education find that you want to use the lasagna bed method. Cool! I’ve never done that, though I’ve read about it extensively. All I can offer you here is what I’ve done and what’s worked and what hasn’t.
![]()
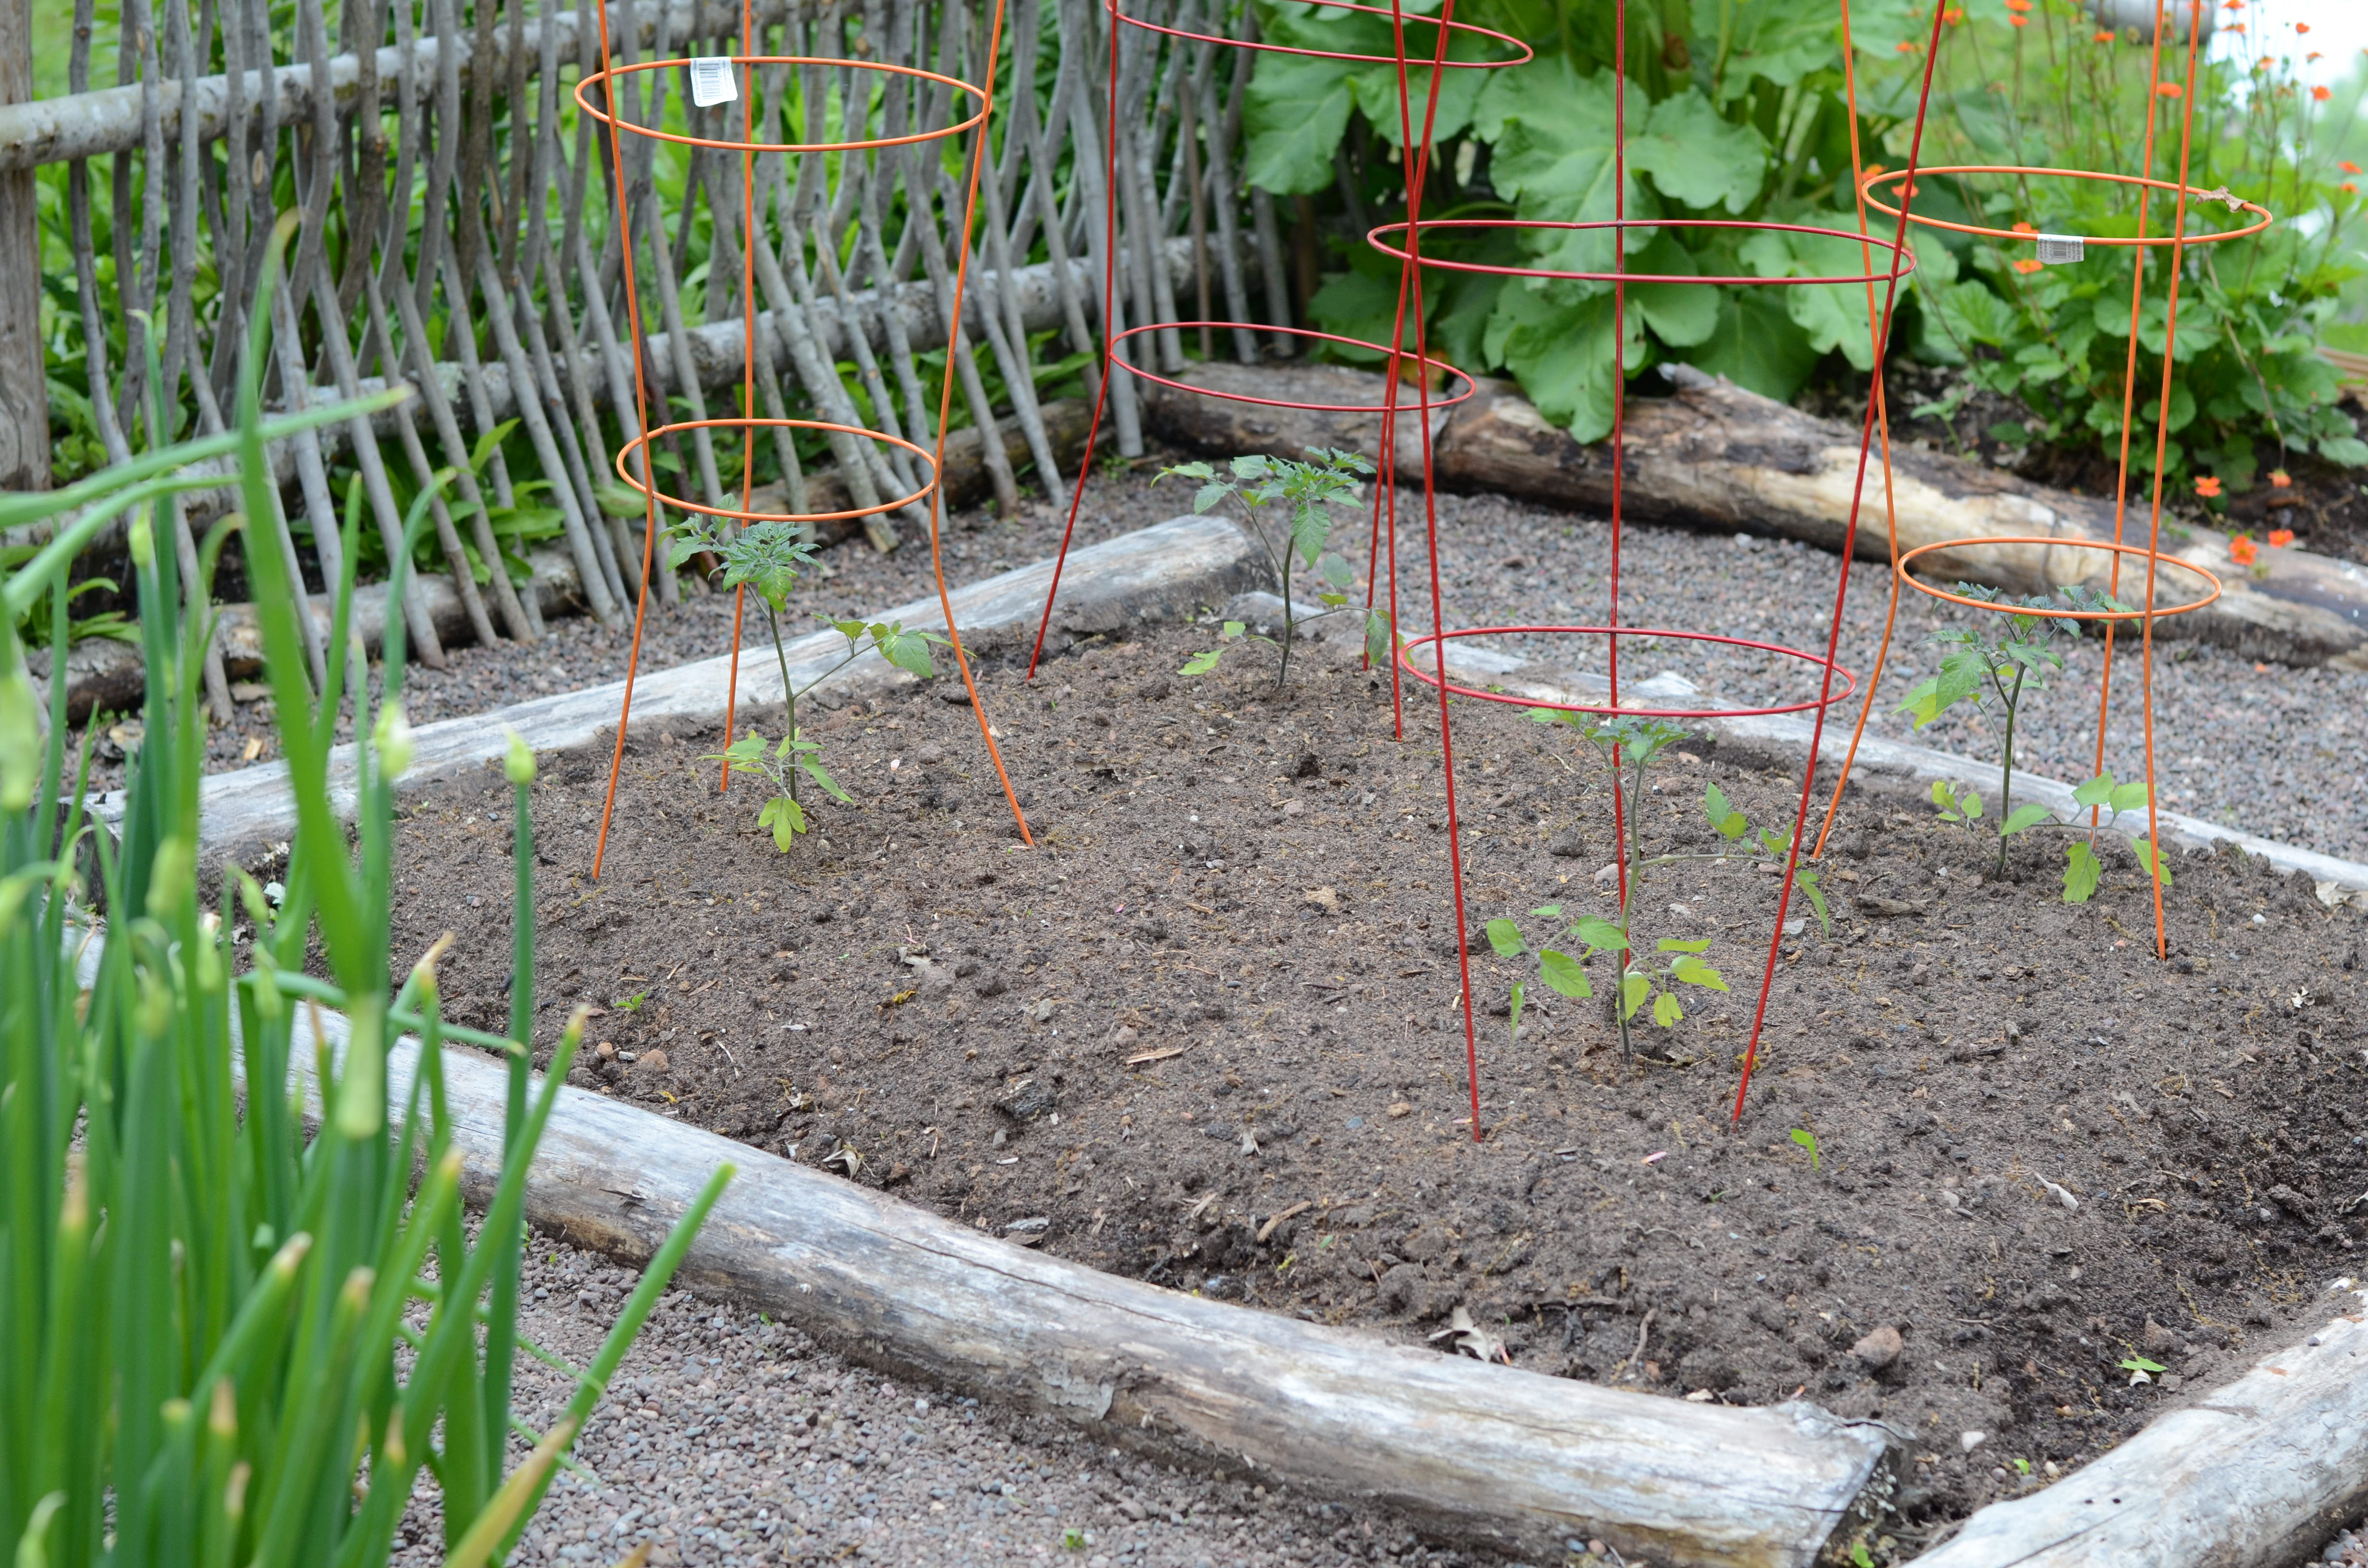
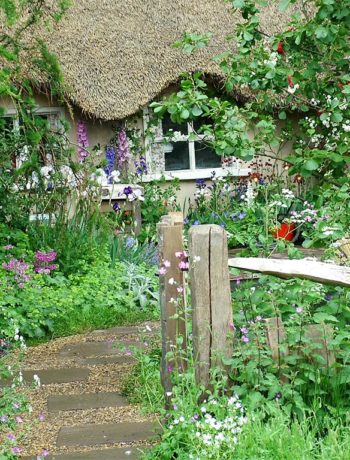
Here are some a few shots, from this year, of my garden in all it’s garden glory. I’ll give you a more comprehensive view in the next post, (note the cup of cold coffee) but for now:
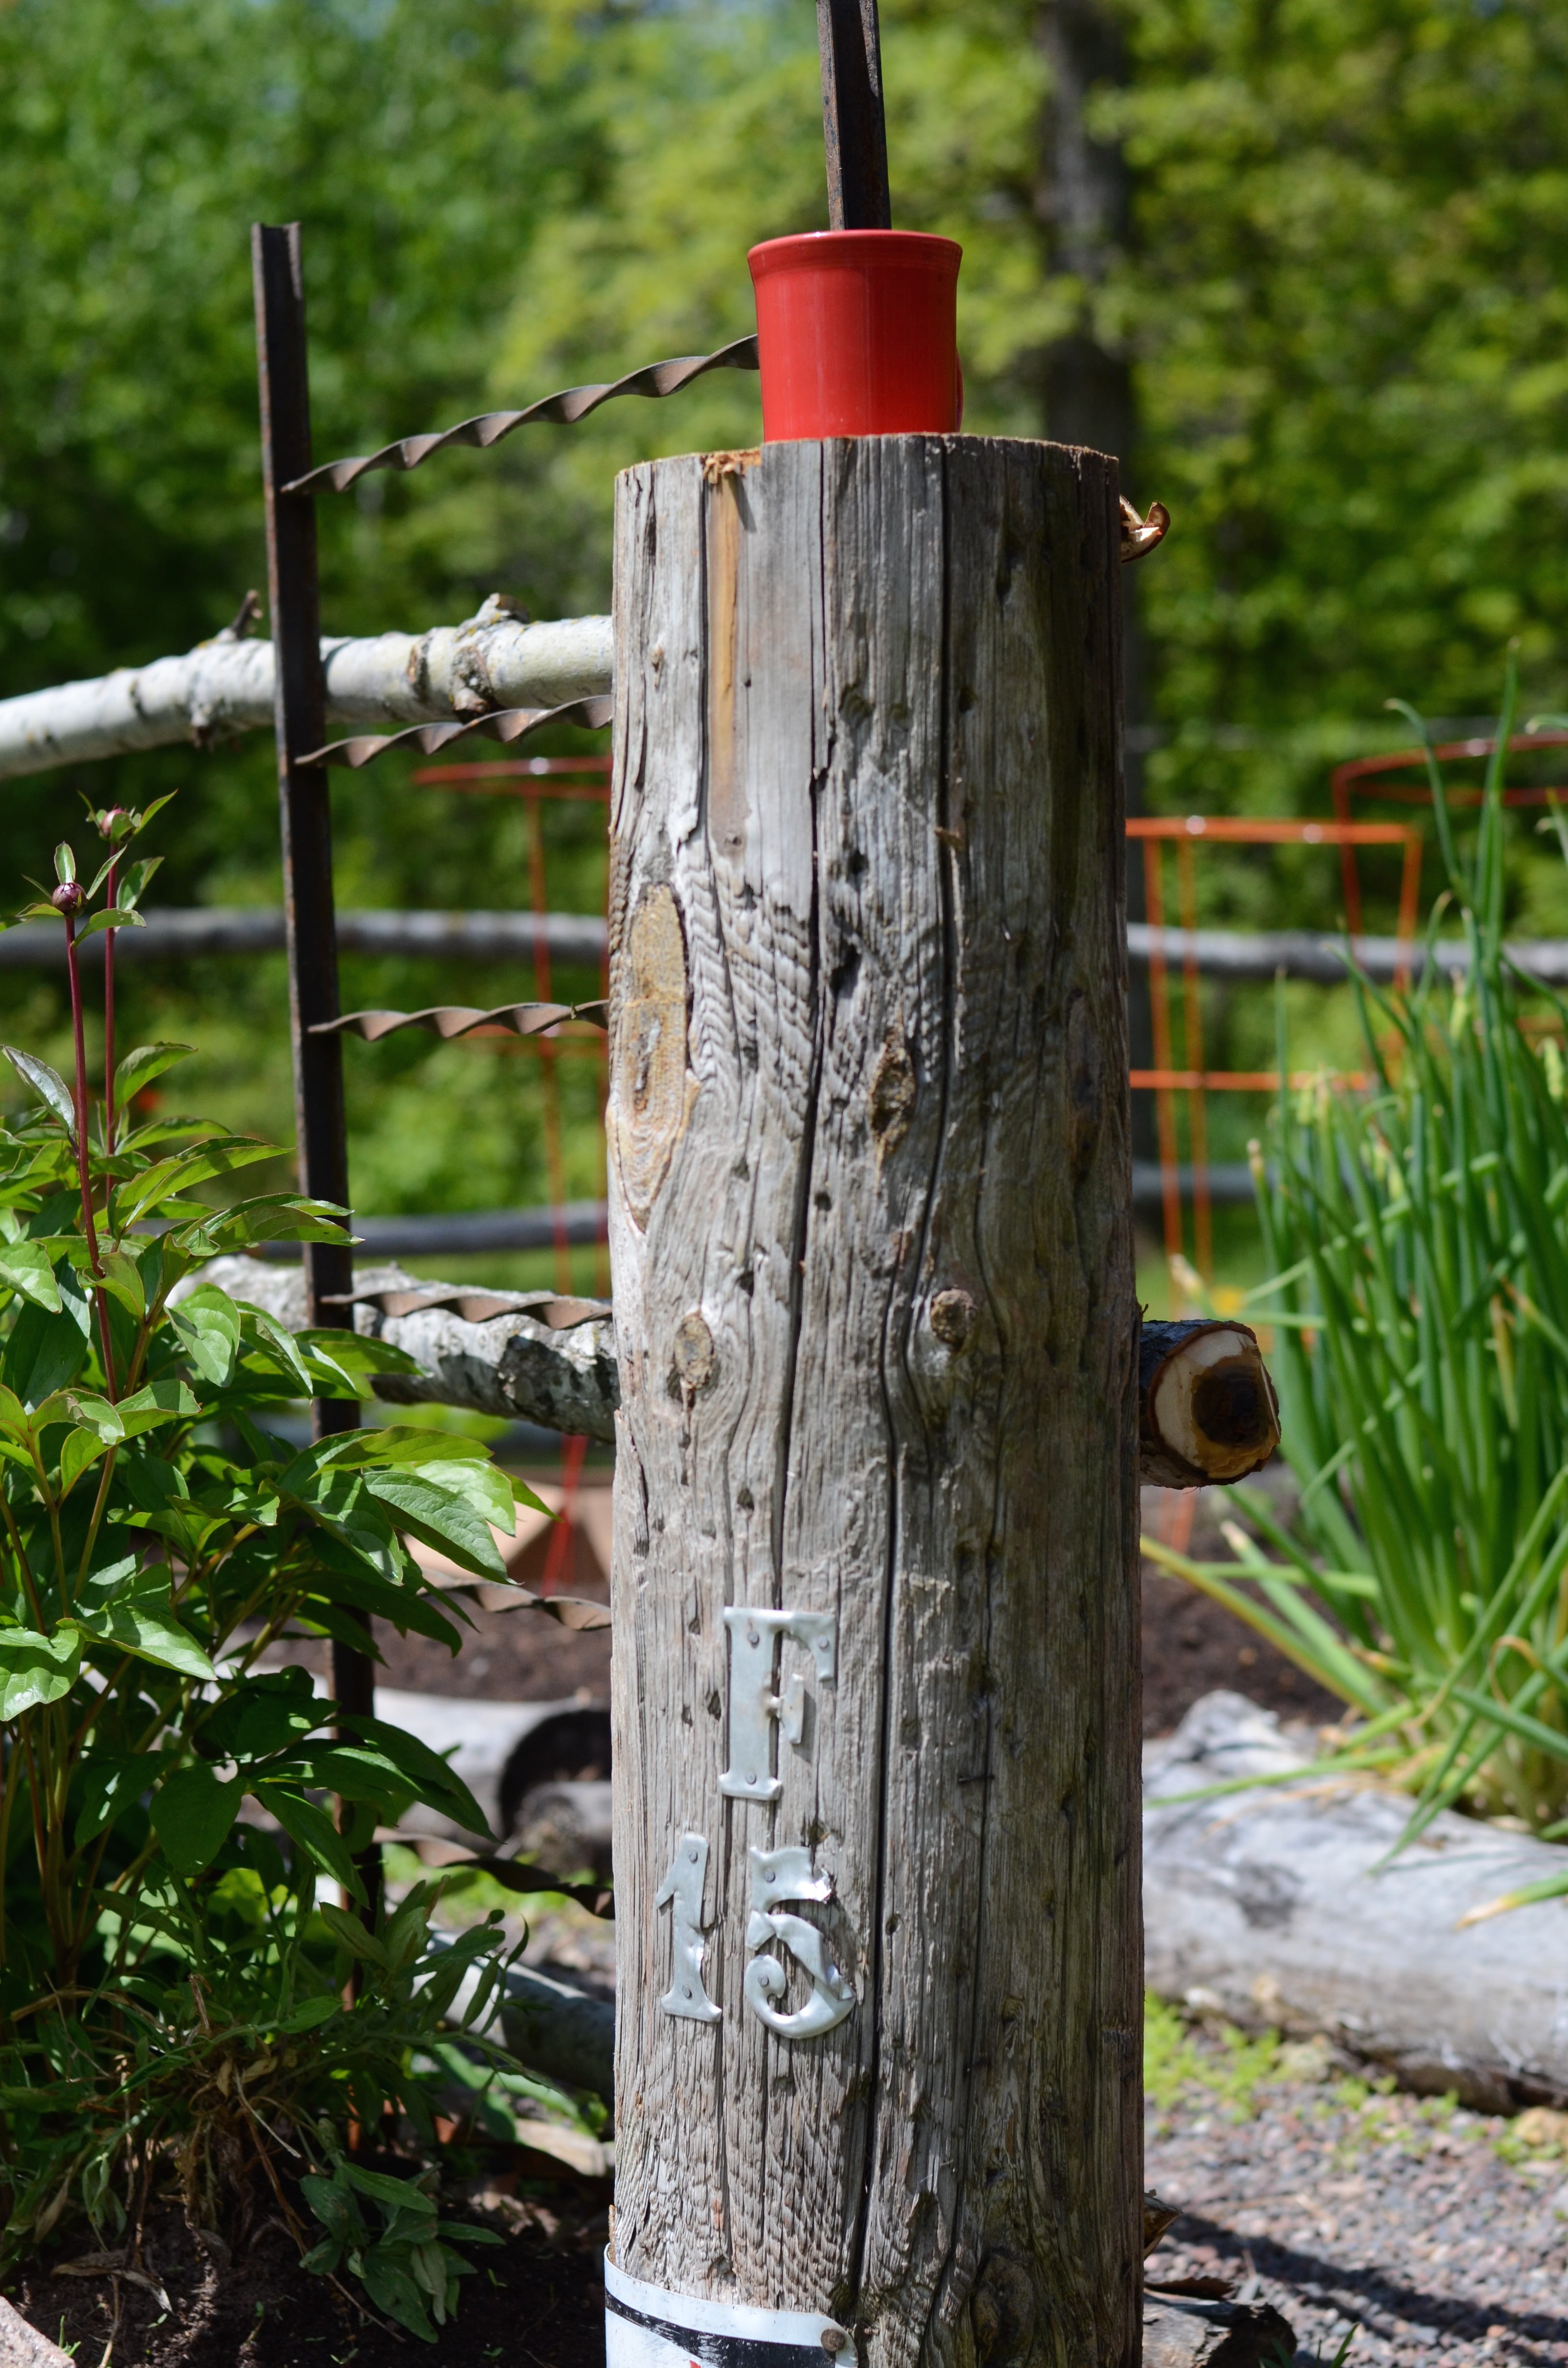
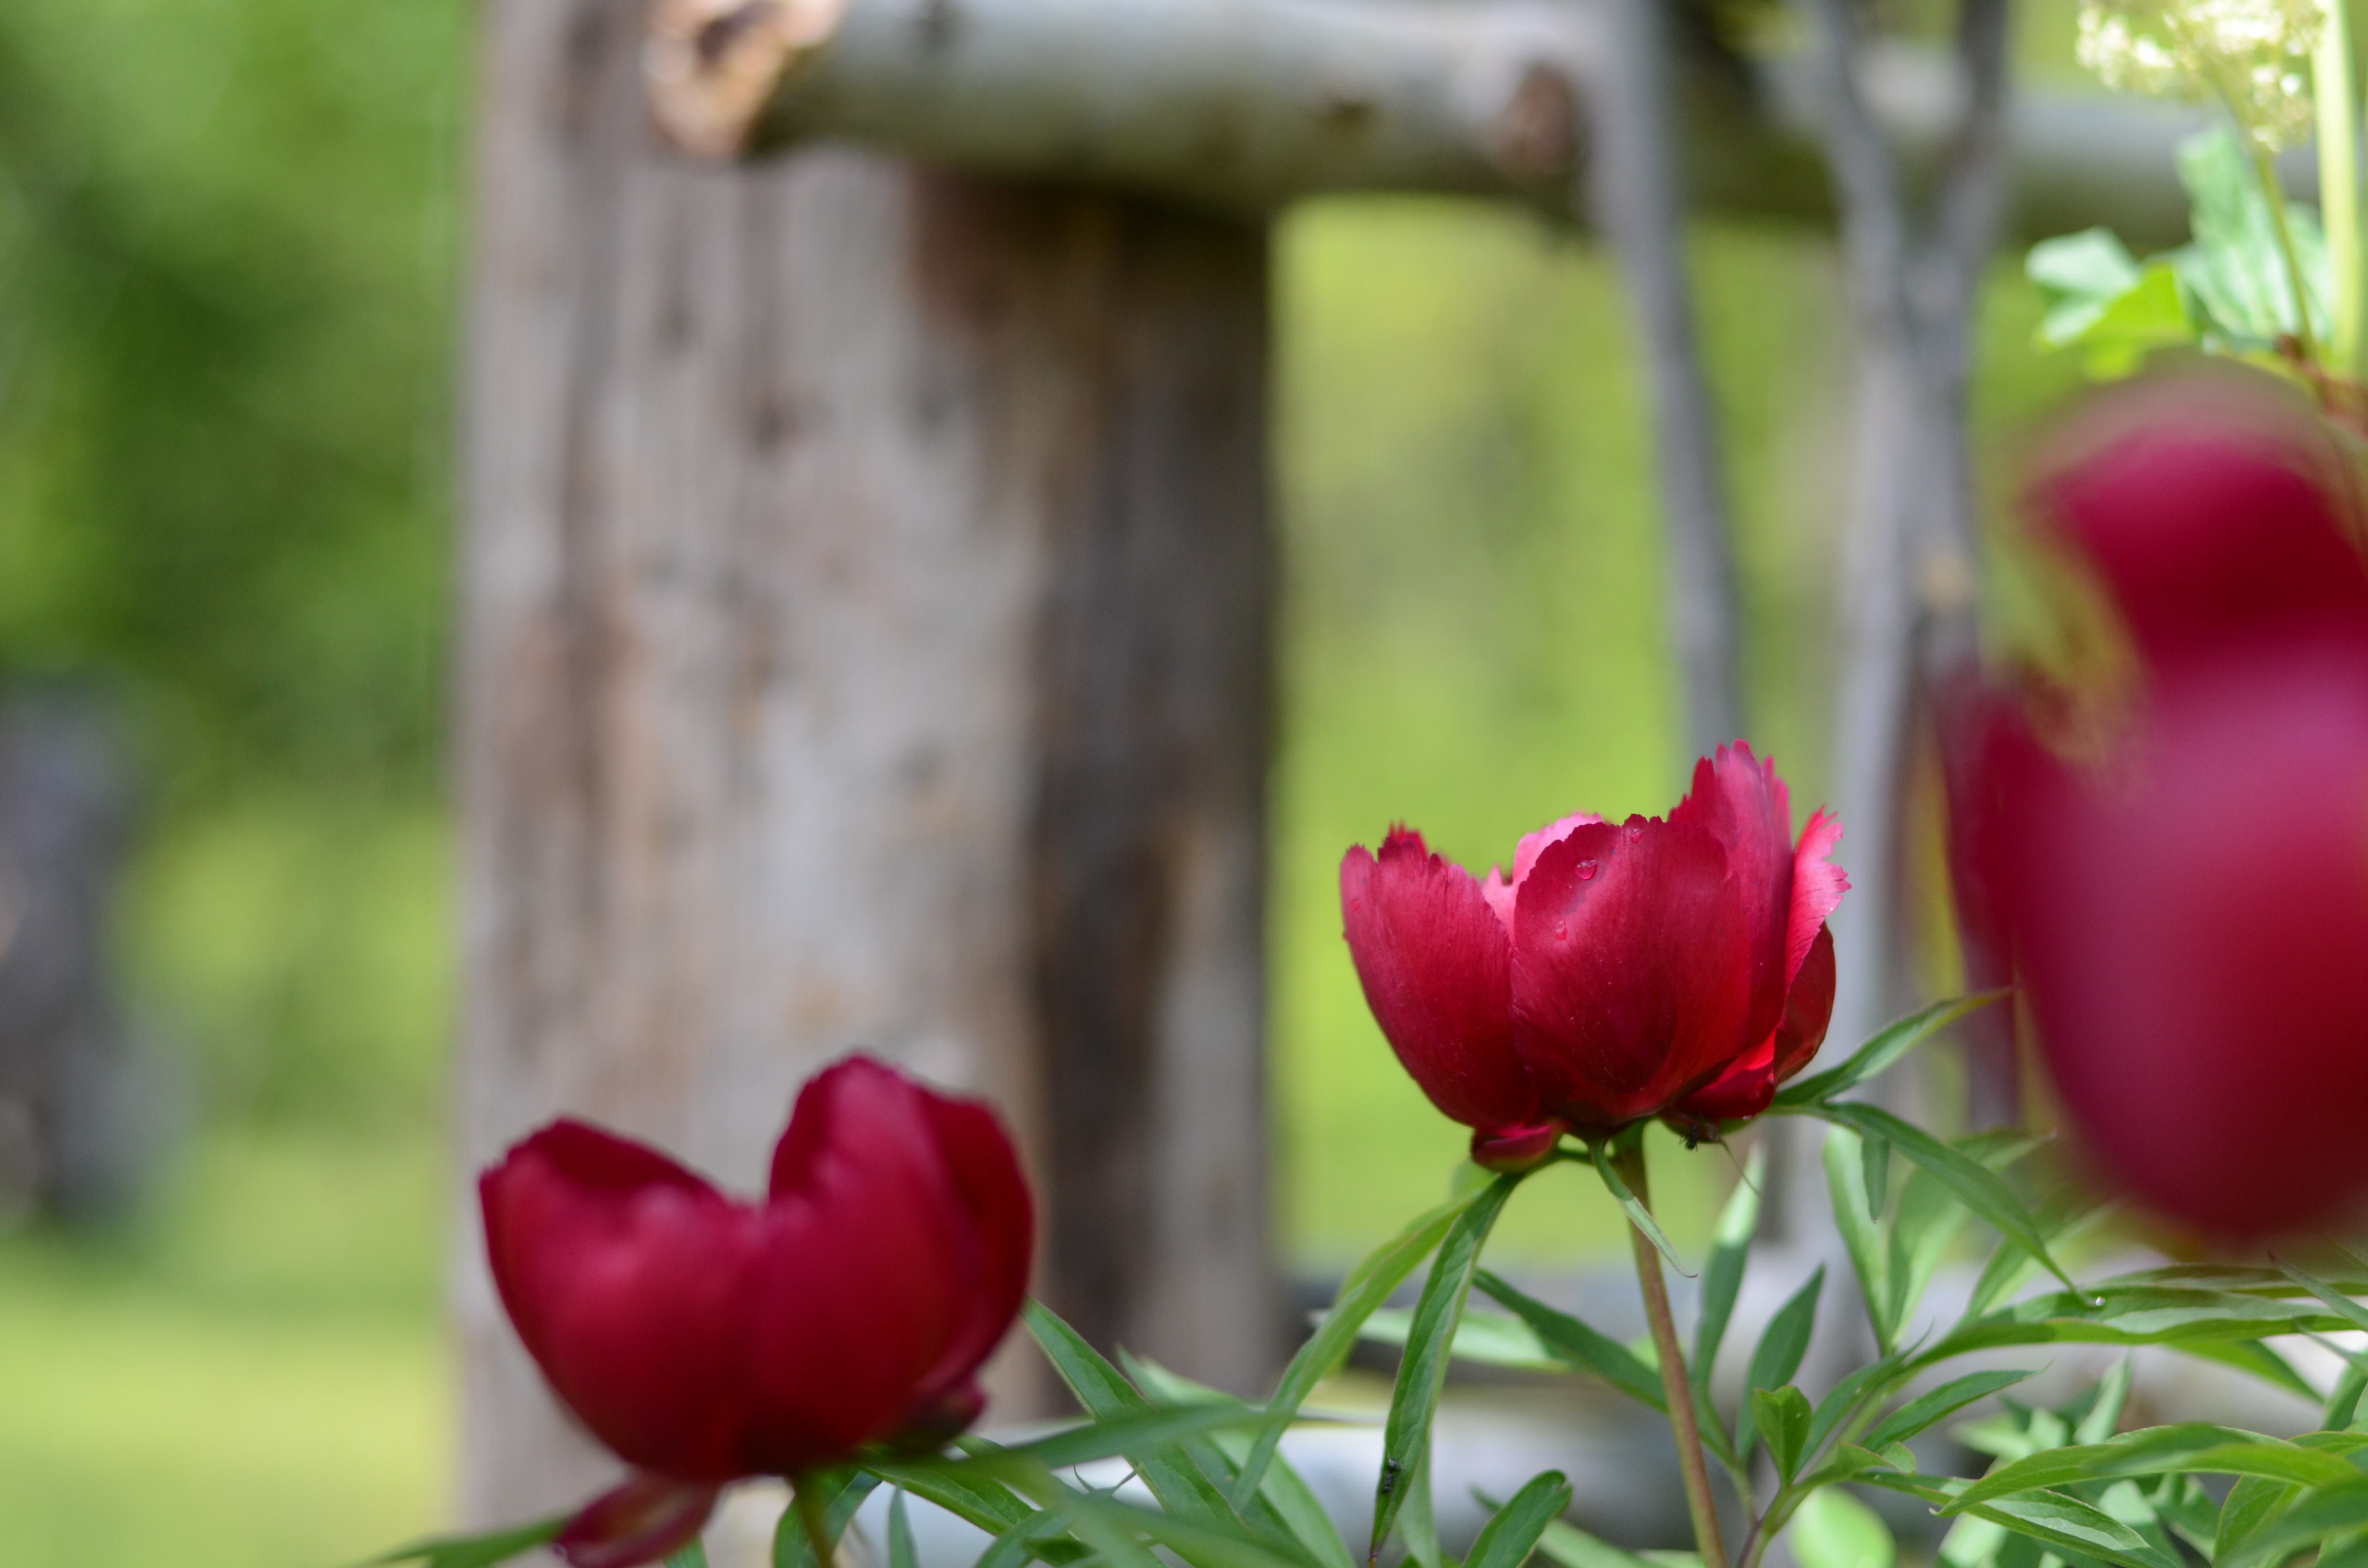
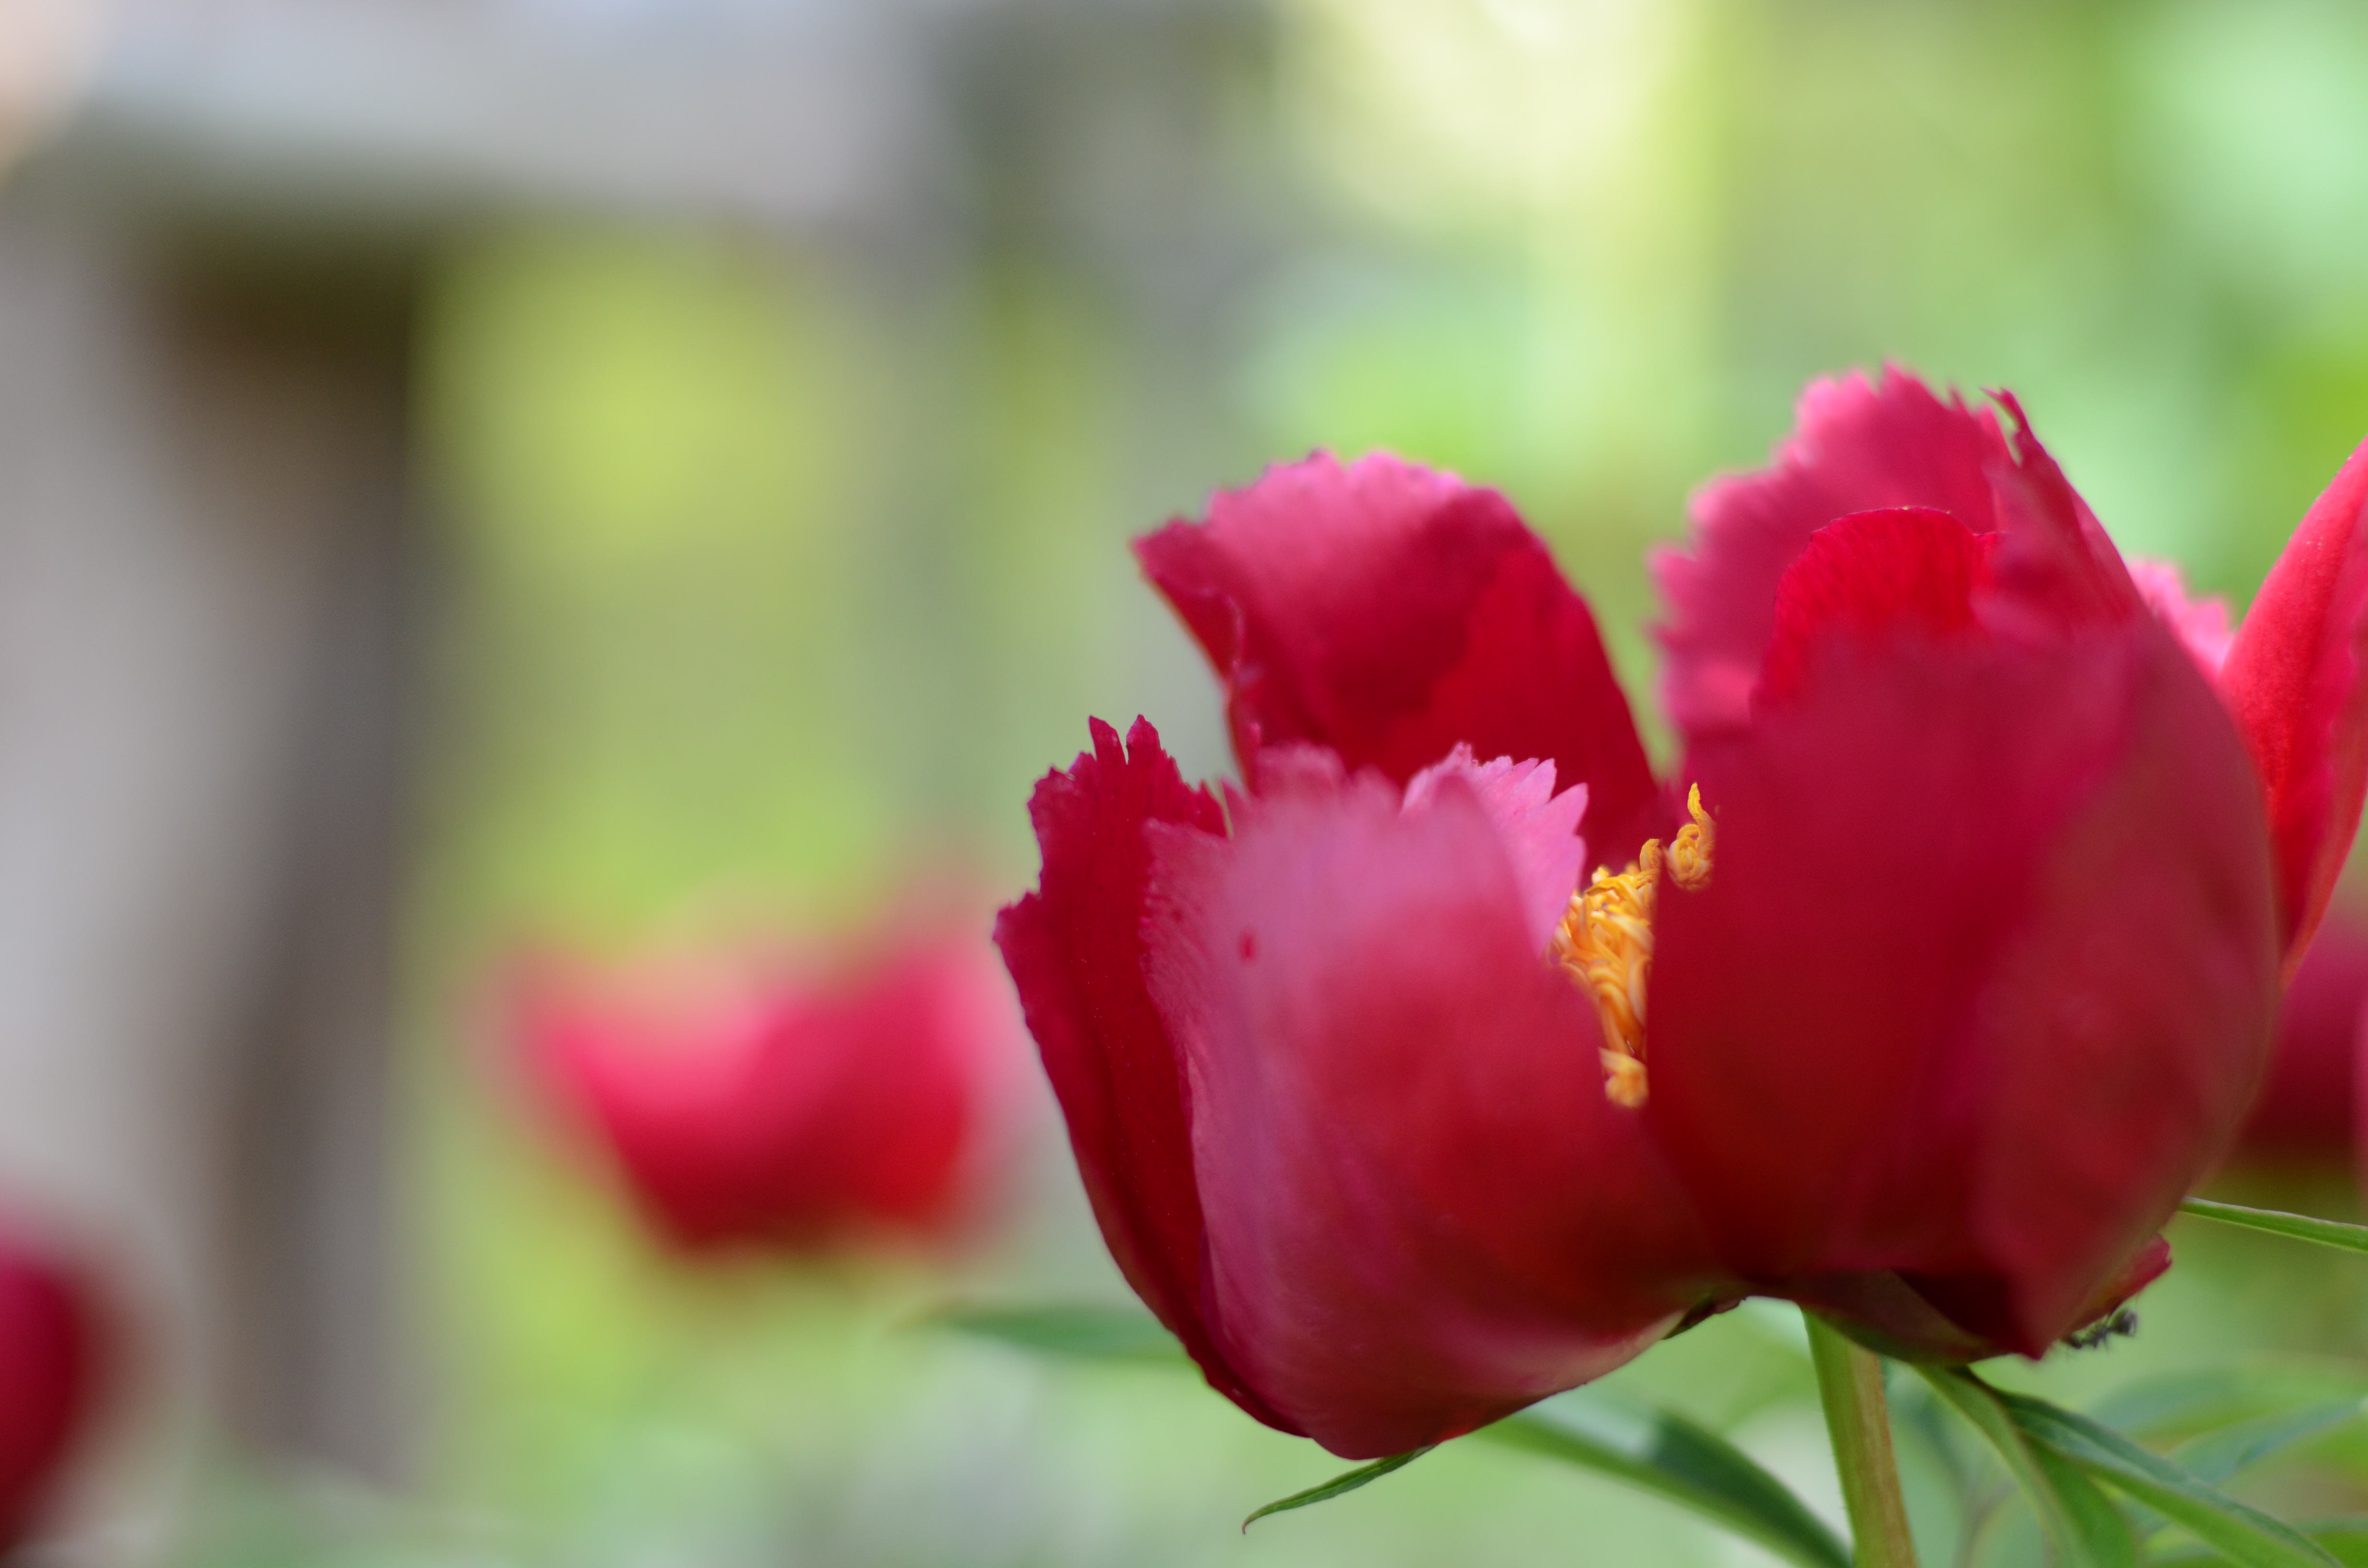
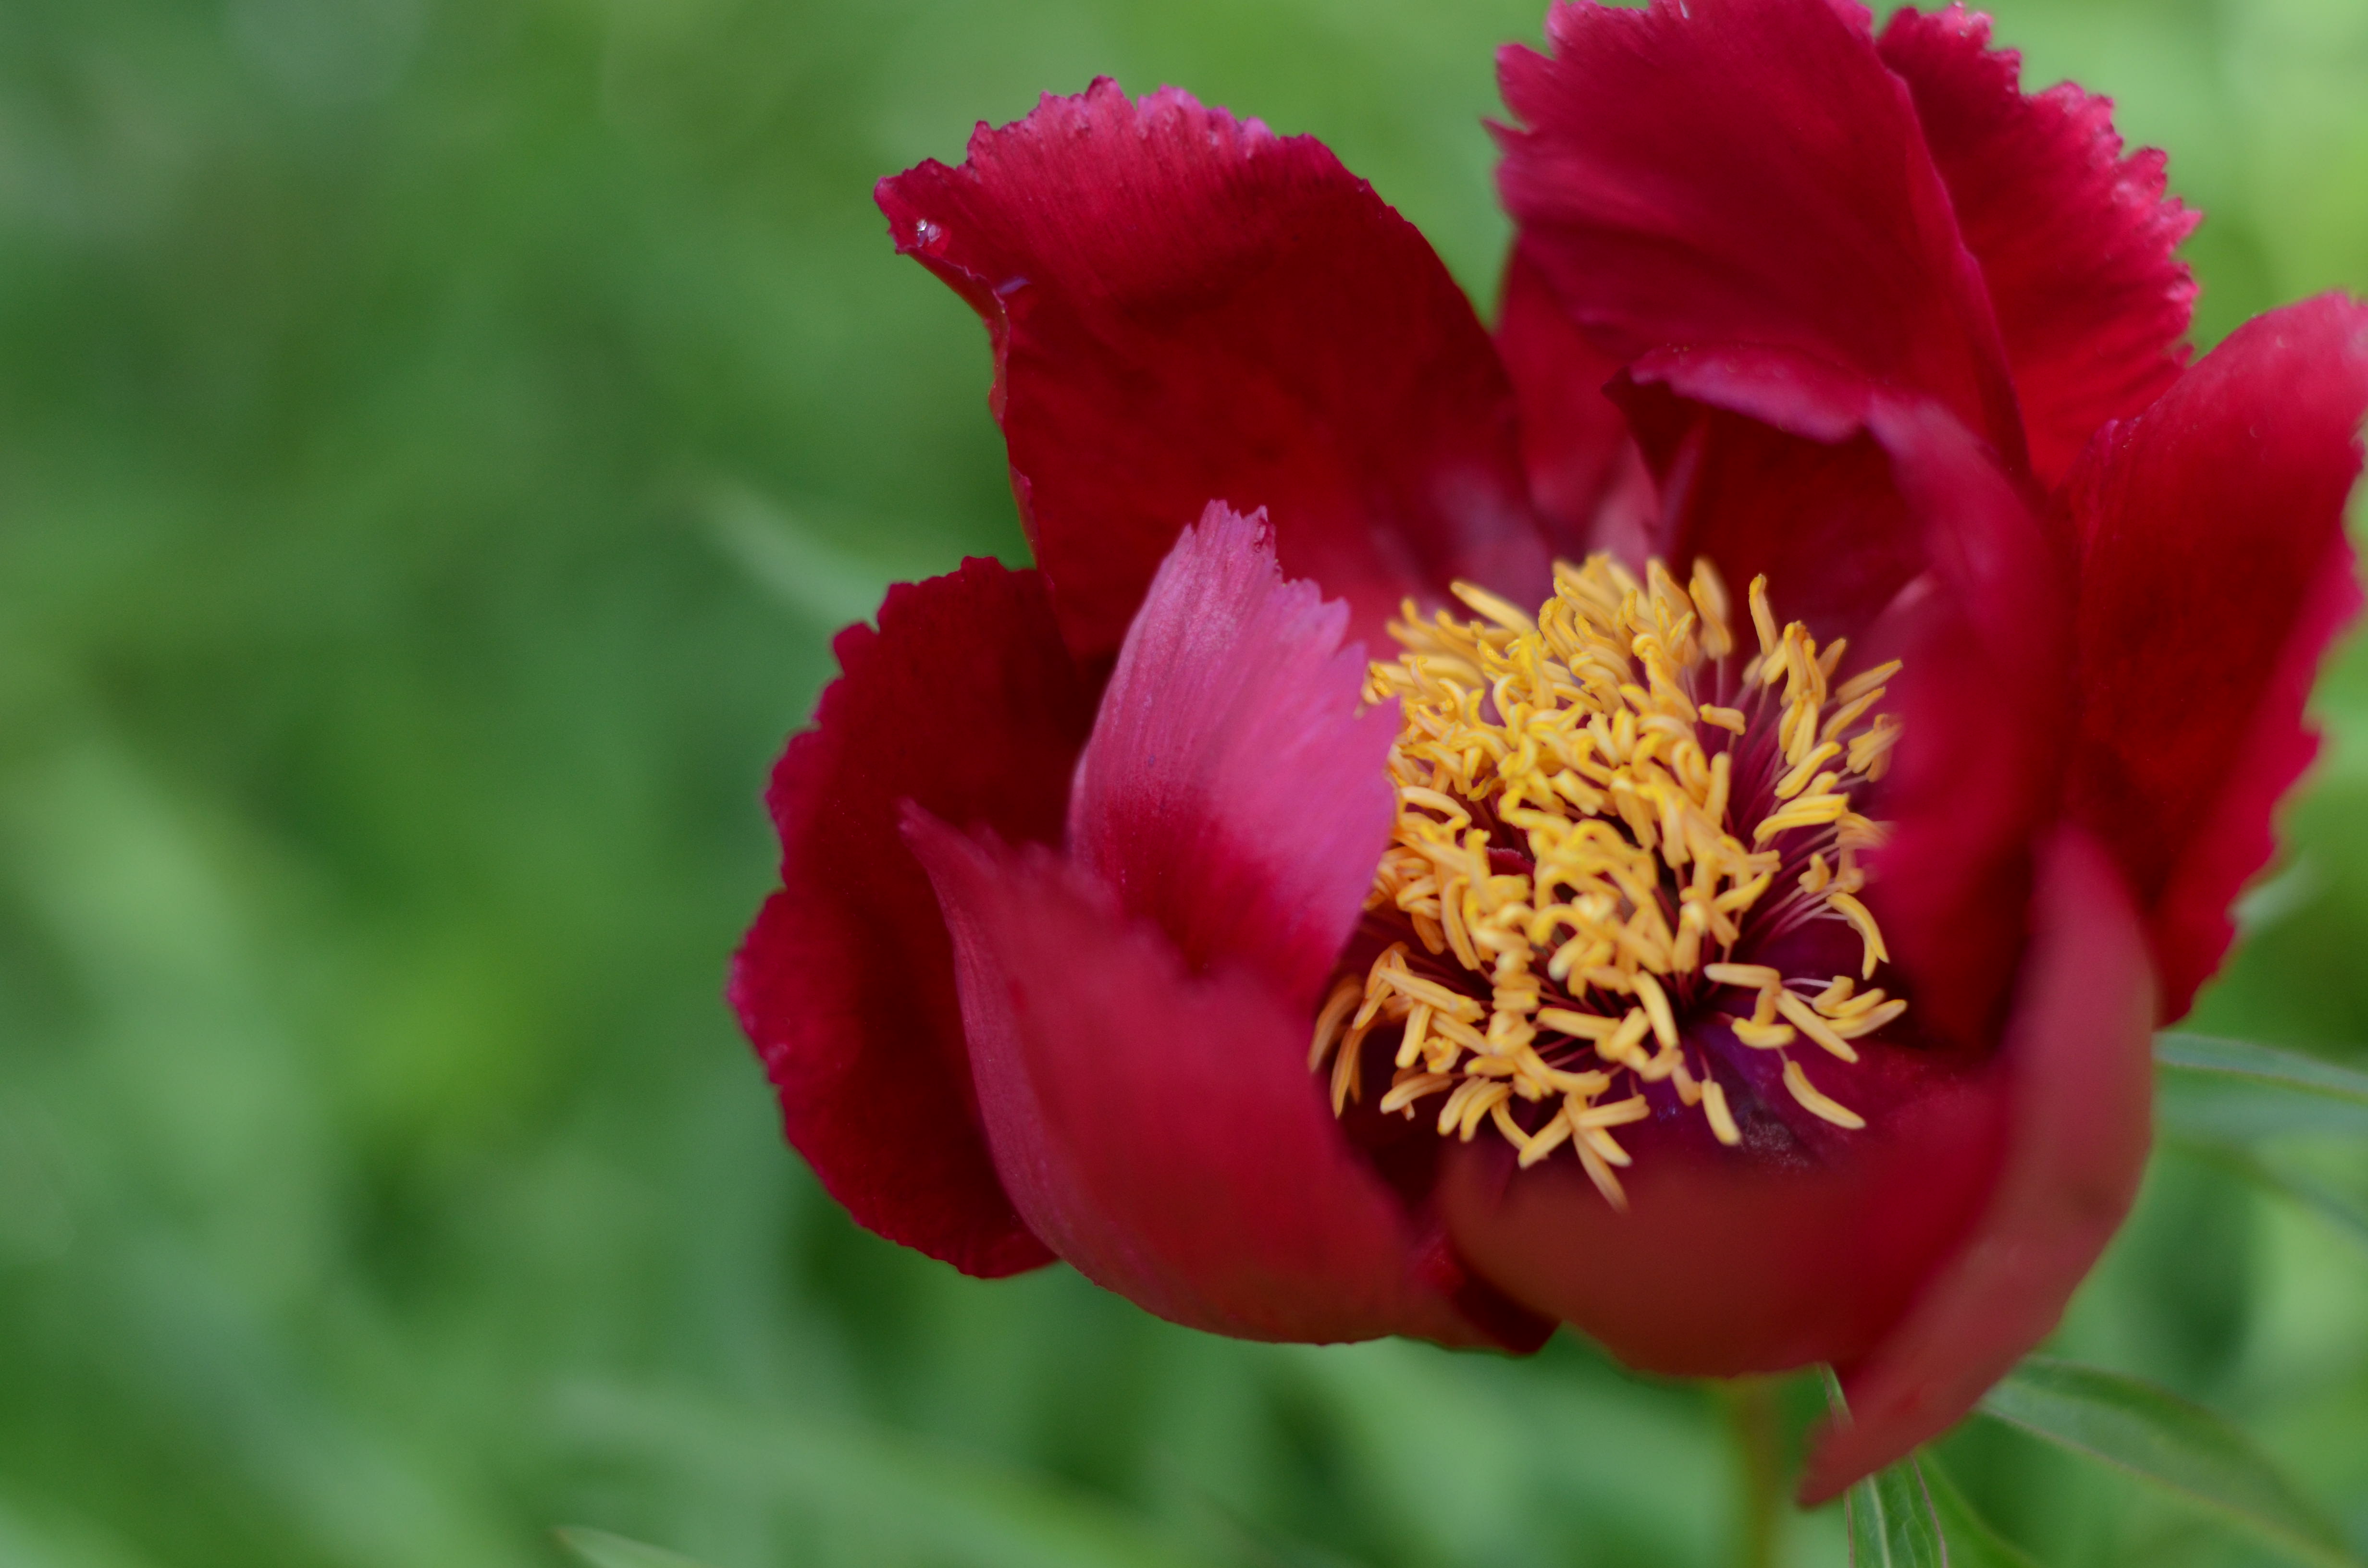
To the raised bed, that which provides the flower the opportunity to “bloom where it is planted”!
Postscript: If you missed the other parts in the series and want to check them out, find them here: Entry #1, Entry #2, and Entry #3, Entry # 4, Entry # 5, and Entry # 6.
Signed,
2 Comments
Lindsey
June 25, 2015 at 1:01 AMLovely post, lady! And as a fellow Lake Superior Red Clay dweller, I agree wholeheartedly that it is indeed evil enough to be consider a proper noun. 😉 Well done in your gardening adventure–you inspire me!
queen patina
June 25, 2015 at 4:00 AMAnd Red Clay is particularly evil when mixed with small, young children and nice clothes, yes? : )
I’m willing to help make your garden dreams a reality! ; )